 During the writing of Tracing A T To Tampa, the fact that I had never driven a Model T Ford began to bother me more and more with every passage that referred to some detail about the car that “put America on wheels”. I had seen plenty of Model Ts and had ridden in a few but every comment that I made about the T’s operation came from observation and “book learning”. I wondered about how accurate I was being.
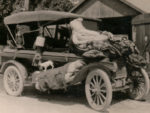
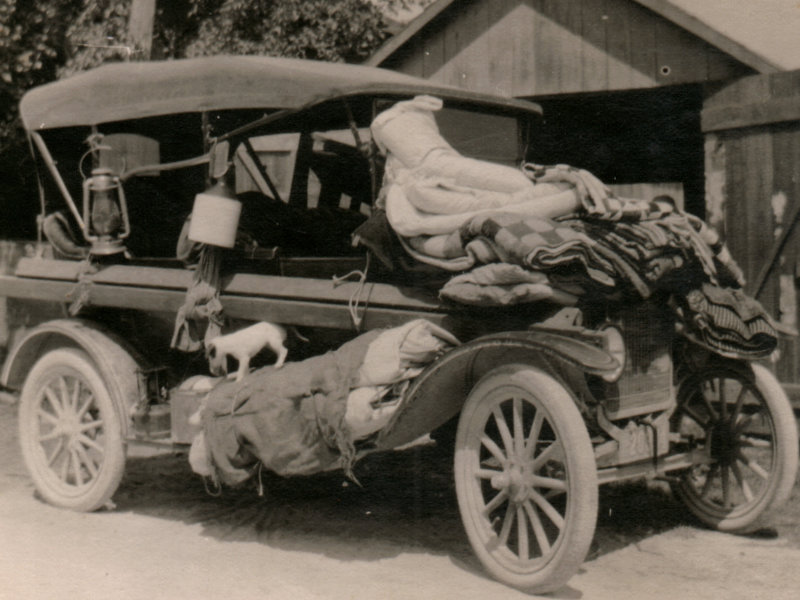
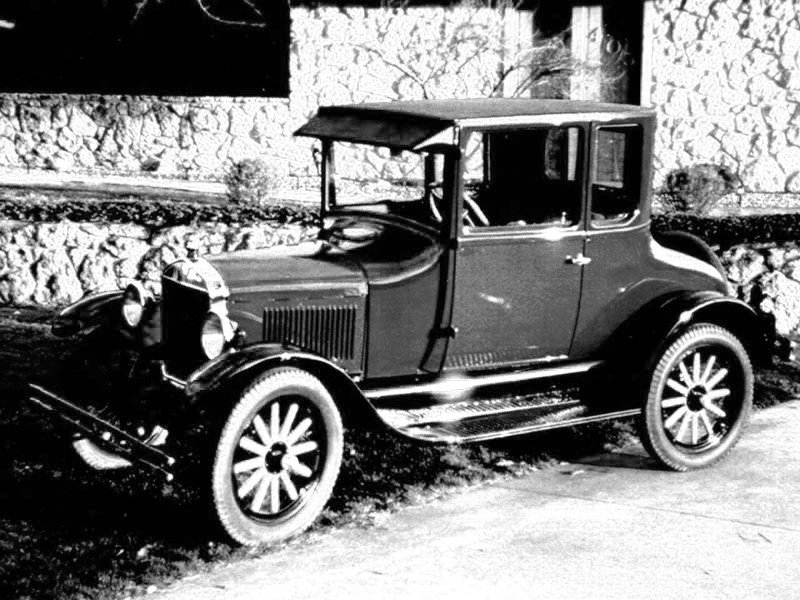
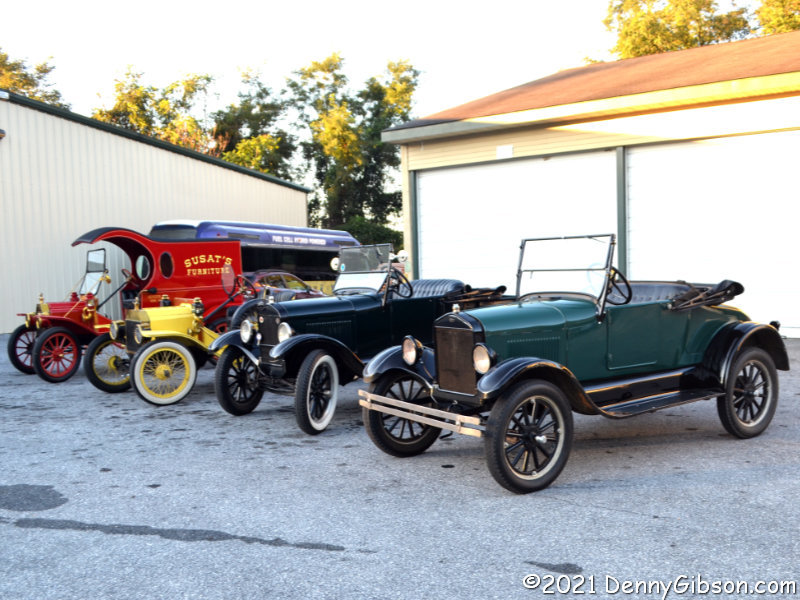
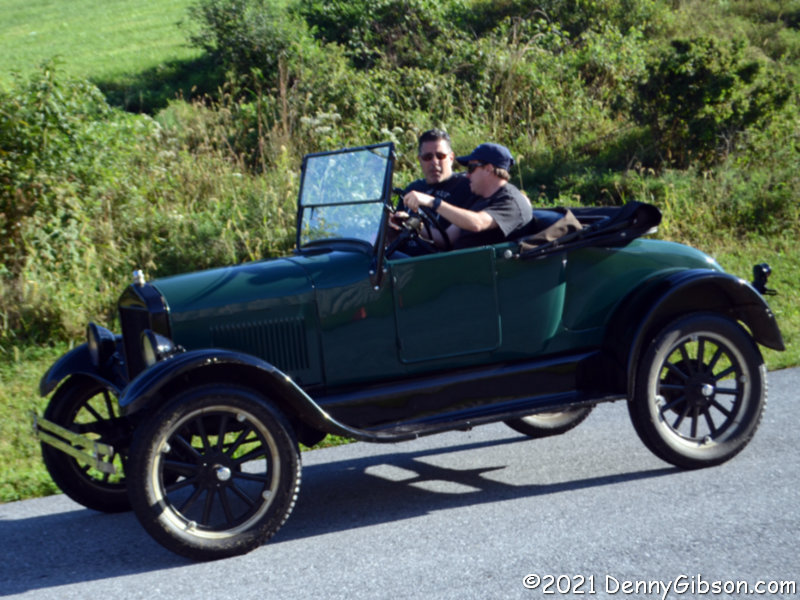
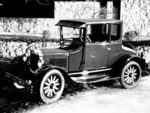 The T that I traced to Tampa is believed to be the touring car in the first photograph which belonged to my great-grandparents. The coupe is a car they owned many years after the Florida trip. It is currently in the possession of an uncle and I considered bugging him for driving lessons but in the end, I went for the Model T Driving Experience at the AACA museum in Hersey, PA. That gave me access to multiple cars in an environment set up for novice drivers. I combined it with a few other items from my to-do list and made a road trip that is documented here. The driving experience is included in day 4 but not much is said about the actual driving. That’s what prompted me to make this blog post.
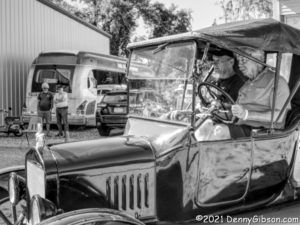
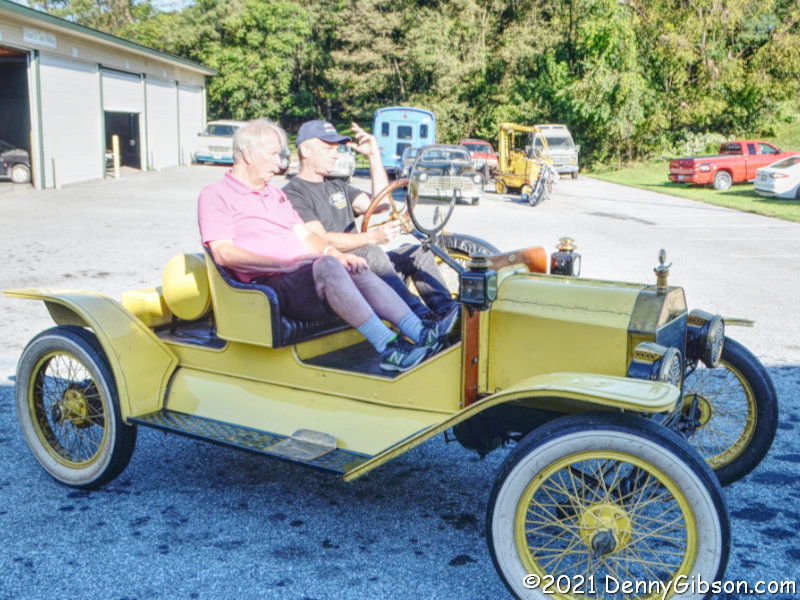
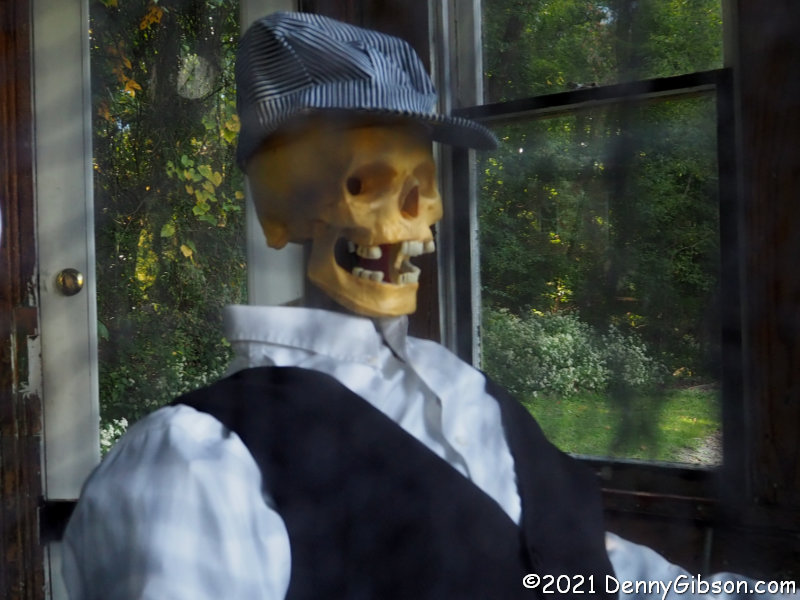
 This picture is one I used in the trip journal. It shows the four cars that students were to drive. I drove the green, yellow, and red cars but the black car, actually a roadster pickup truck, conked out before my turn came. It was replaced by another black roadster pickup, but the top stayed up on the replacement. That’s it in the b&w photo at the top of the article.
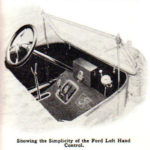 The image at left was taken from the “Ford Model T Instruction Book”. Model Ts were often delivered by train or other means directly to a new owner with nothing resembling today’s dealer prep (and accompanying charge). The 45-page book provided all the information necessary to prepare, operate, and maintain what might be the very first powered vehicle the owner had ever seen.

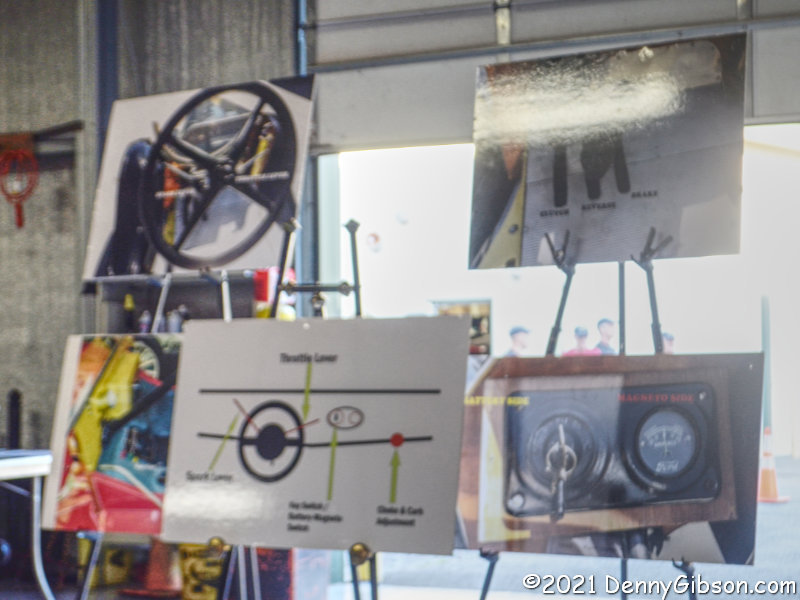
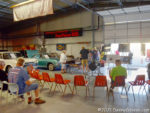 Our cars had all been prepped, of course, and all were equipped with electric starters. Plus, we would have the advantage of a classroom presentation with visual aids. Against the open doorway, the visual aids weren’t a whole lot easier to see in person than they are in the photograph but we all had copies available in a handout. The use of the spark advance and battery/magneto switch in starting the engine was discussed but today the instructors would take care of those details. Students would be dealing with the hand throttle, the steering wheel, and three pedals.
It seemed everyone was familiar with a hand throttle from a tractor, lawnmower, or something similar. And everyone recognized the steering wheel. It is one of just two controls that have maintained the same function from Model T to Tesla although neither can be operated with modern instincts. Most modern cars have a steering ratio of 12:1 or more; the ratio for Ts is 4:1 or 5:1. It is essentially the only thing on a Model T that can be called quick.
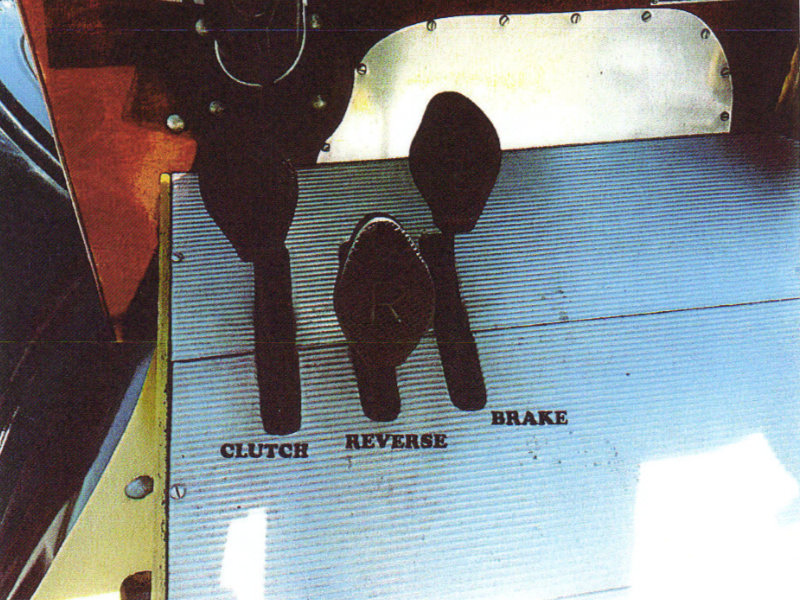
 This picture of a Model T’s three pedals appeared in the handout. The bulk of student brain activity would be focused on these. ‘C’, ‘R’, and ‘B’ markings identify them as clutch, reverse, and brake. The brake pedal is the other control that technically retains the same function in modern cars as in the T. However, like the steering wheel, how well it performs that function is dramatically different. Today’s brake pedals are mostly power-assisted and hydraulically connected to large disc brakes at all four wheels that will bring a 3,000-pound 60 MPH vehicle to a halt in forty yards or so. A Model T’s brake pedal is mechanically attached to bands that tighten around a shaft in the transmission that will bring a 1,200-pound 10 MPH vehicle to a halt eventually.
Although there is nothing quite like the reverse pedal in modern cars, its function is simple and easy to understand. With the car stopped and no other pedal pressed, pushing it to the floor causes the car to move backward. The idea of “no other pedal pressed” would really apply to all of the driving we would do on this day. The pedals would be pressed one at a time.
Clutch pedals in modern cars are becoming increasingly rare but they do exist and it’s tempting to think that knowing how to operate a modern manual transmission will help in operating a Model T. Not a chance. Almost every instinct developed by driving manual transmissions will only get in the way when driving a Model T. I will expand on this later but today we would be doing all of our driving in low gear which meant that the clutch was engaged with the pedal pressed and disengaged with the pedal released. Yes, driving in low gear did translate to driving at low speed and I don’t doubt that some readers will think that lame. Pshaw. With 4:1 steering in a fairly primitive car with totally unfamiliar controls, 15 MPH was plenty fast.
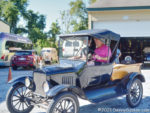
 A Q&A session followed the presentation then we moved outside where instructors reviewed parts of what we had learned using the real Model Ts as visual aids. Next, an instructor climbed into the driver’s seat of each car and a student joined them for a lap around the course as a passenger. The “course” was an unmarked path around a closed-off portion of the museum grounds with an uphill section on grass and a downhill section on asphalt.

 The green roadster was the first car I climbed into but I have no pictures of me as either a passenger or driver. Even though I’d read about it and had ridden with others doing it, the strangeness of holding that clutch pedal down to keep moving didn’t completely register until it was my foot doing the holding. I also was a little surprised at how much the throttle was used. It was positioned for easy fingertip access while holding the wheel and adjustments were required for climbing the small hill and at other points too. I also did a lap as a passenger in the yellow speedster. The instructor thought that prudent because of some play in the steering. I managed to hand off my camera for the speedster drive but only have a picture from that first lap. My drives in both of these cars went well in that I didn’t run into or over anything and I didn’t stall either one. That streak would not continue.
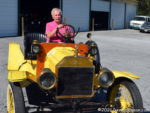
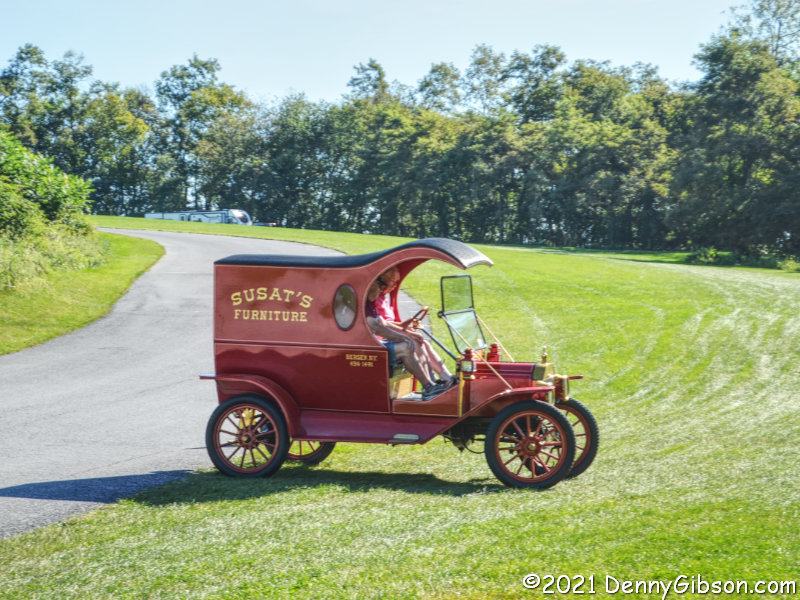
 Helpful volunteers did snap pictures of me at the wheel of the other two Ts, both of which I managed to stall. In fact, I stalled the cool-looking furniture van twice. At ages of 94 to 108 years, these vehicles are entitled to some idiosyncrasies and they do indeed have them. For the speedster, it was steering. For the red van, it was a dead spot in the throttle. Twice, when I wanted a little more oomph, I moved the throttle a little when it needed to be moved a lot. I have a different excuse for stalling the black pickup. Model Ts have a parking brake of sorts but using it was not part of the day’s normal procedure. There was no need in the level lot. For some reason, the previous driver had seen fit to set it but that did not keep me from reaching the beginning of the hill before the combination of brakes and incline started to bog things down. The instructor figured that out just as the T’s engine chugged to a halt. With that exception, my drive in the little pickup was understandably the best of the day. Operating that strange clutch and using the hand throttle never became 100% natural but, as it is with most things, the more I did it the better I became.
I said I would expand on clutch operation and I’m going to use a detail from an earlier picture to help with that. I’m also going to take the opportunity to describe briefly what happened when I stalled those cars.
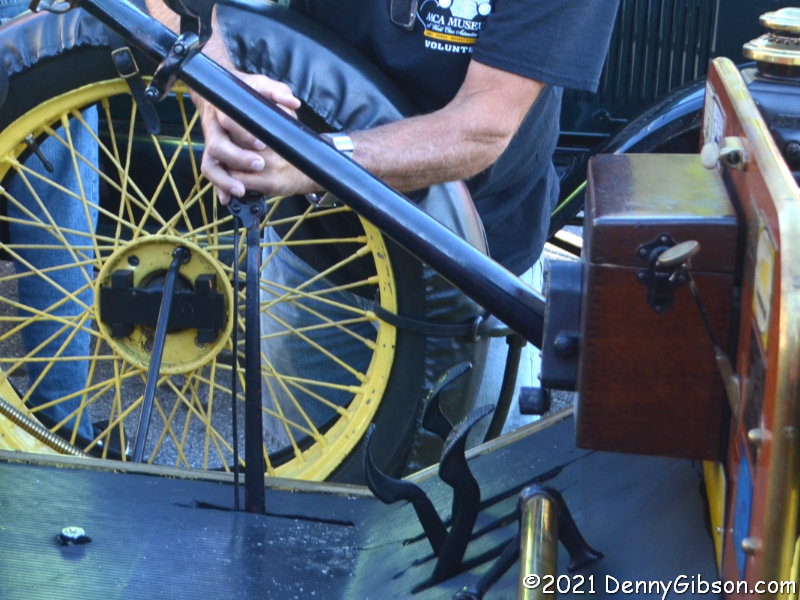
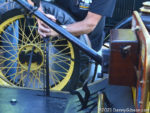 Until it is up and running, a Model T’s engine needs to get its electrical power from a battery. A switch on the dash-mounted wooden box controls that. Following a stall, the instructor would flip that switch to battery and maybe make some adjustments to the throttle and spark advance. They would then tell me to press the starter button. In the picture, it’s on the floor. In other cars, it was on the verticle panel below the seat. Once the engine started, the instructor switched things back to magneto operation and away we’d go.
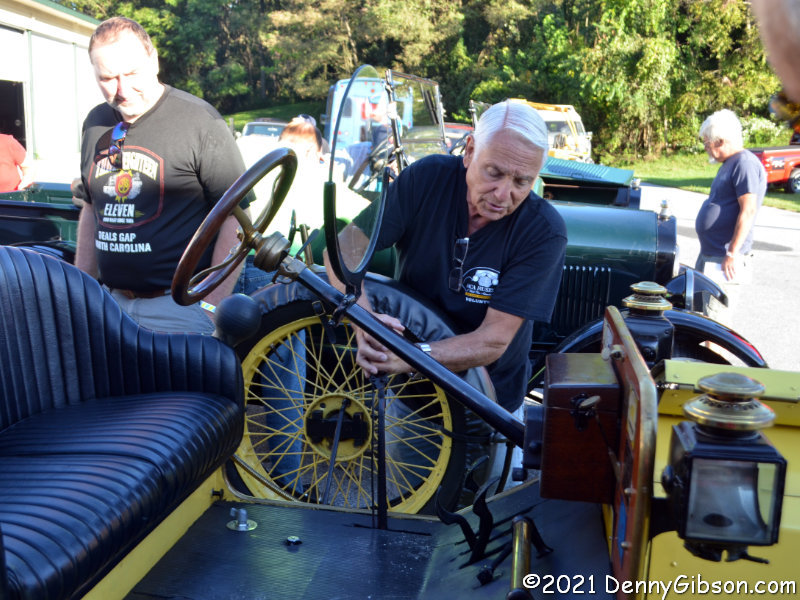
As I’d recently been thinking of my great-grandfather driving a Model T to Florida and back, at some point I began to think about him with his foot pressed to the floor for the whole trip. That really wasn’t required and that lever that the instructor is holding in the picture above is part of the reason. Pulling it all the way back activates small drum brakes on the read wheels. That’s what was going on when I stalled the pickup. Moving it all the way forward enables high gear. With high gear selected, pressing the clutch pedal to the floor still engages low gear, releasing it partway disengages the transmission, while releasing it all the way engages high gear. So, when driving to Florida, push that lever forward, press and hold the clutch pedal until you’re moving at a decent clip, then slowly release it. Adjust speed with your fingers as necessary and let your feet relax.
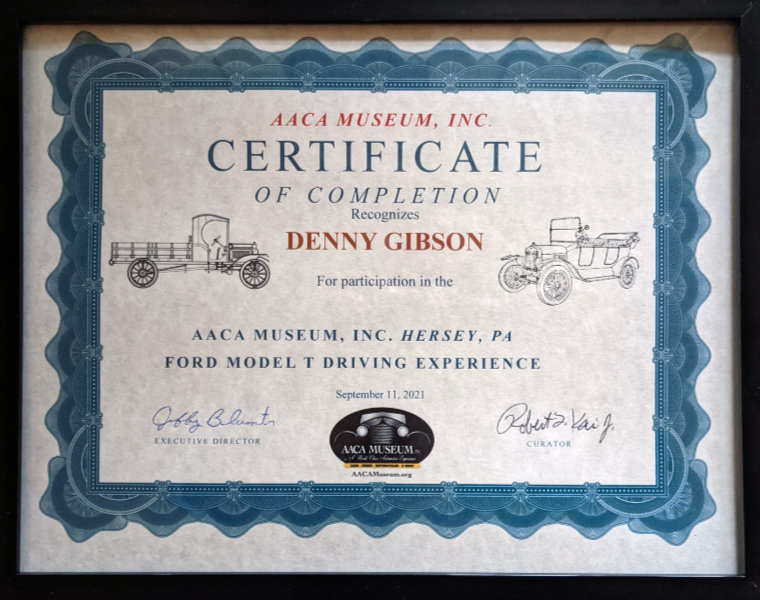
 The museum does not call what they offer a school. It’s a Model T Driving Experience. The certificate I received simply acknowledges that I “completed” the experience with no indication of how good or bad I did or how badly I frightened the instructors. It does not authorize me to do anything whatsoever and that includes bragging about driving four different Model Ts in low gear without stalling two of them. I’m doing that entirely on my own.

 About a month ago, a visit to Jack Pine’s Glass Pumpkin Festival yielded a blog post in which I lamented losing an SD card containing “phenomenal photos”. That card has reappeared and, even though my claims of phenomenality will suffer for it, I’m super happy to share some of its contents. For those who missed it or want to refresh their memories, the original post is here.
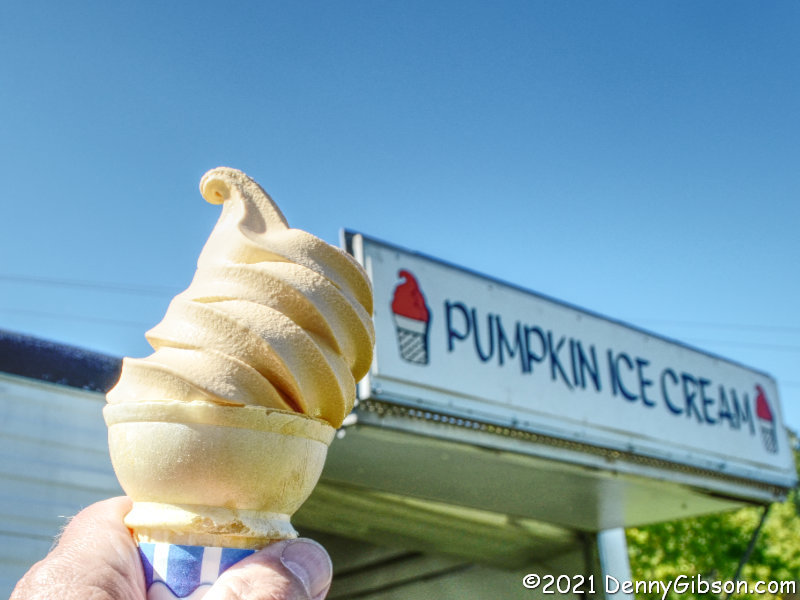
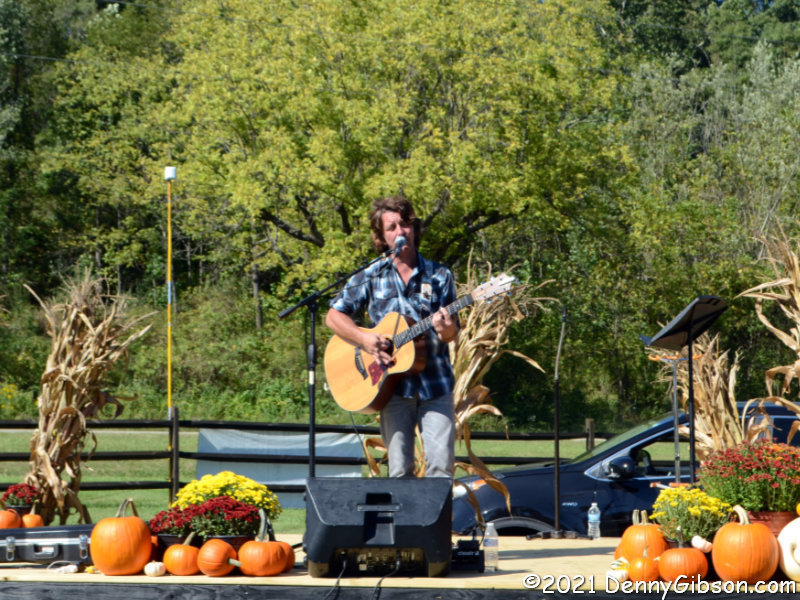 In my lament, I mentioned ice cream and music, and here is proof of both. The ice cream was quite good. Perhaps because it wasn’t overly pumpkiny. So was the music, but, sadly, I don’t know the name of the fellow entertaining us. If I heard it at the festival, I’ve forgotten, and, while the online schedule is still accessible, it shows a gap between 2:00 and 4:30. The picture was taken about 3:25.
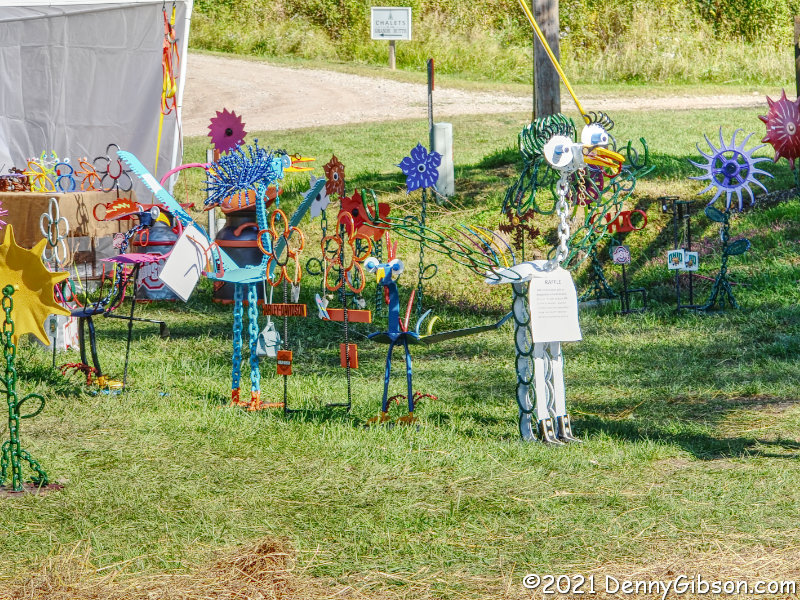
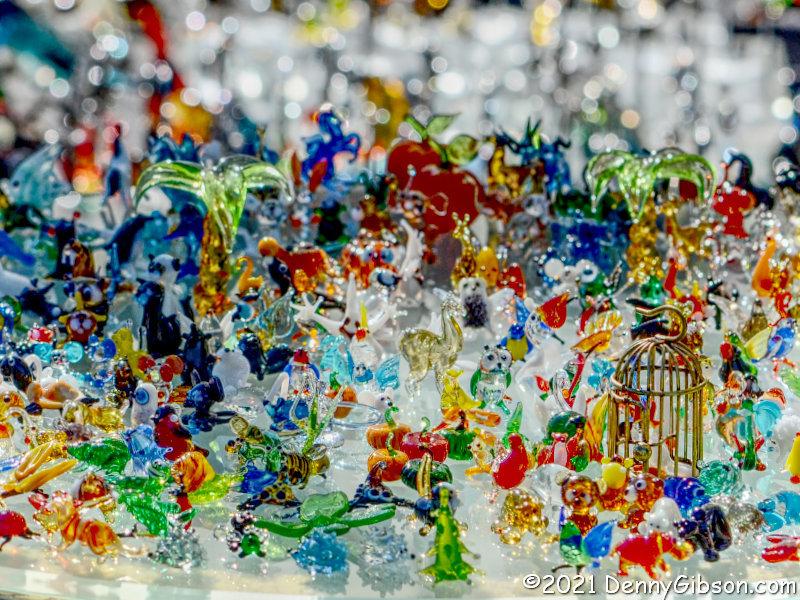
 Numerous artists were offering items for sale at the festival and not everything was made of glass and resembled a pumpkin. There were also some vendors selling food at the festival but none that made me want to take a picture.
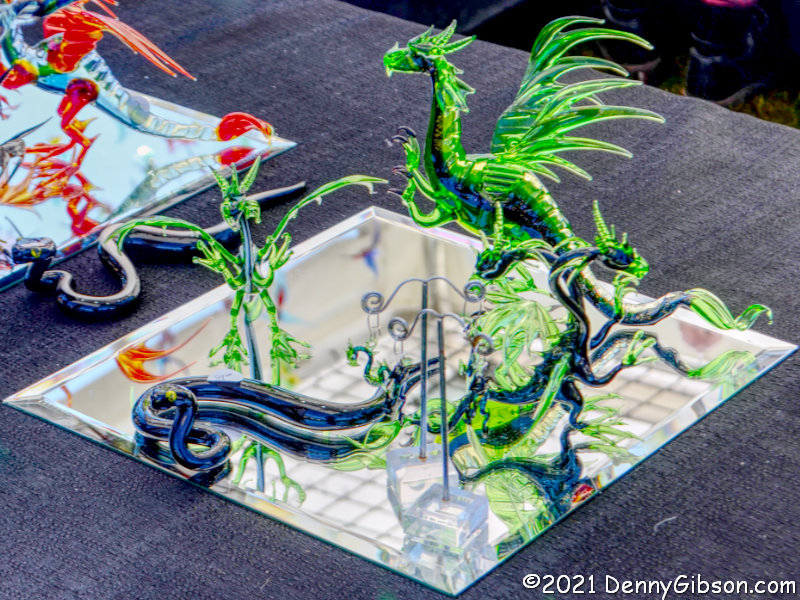
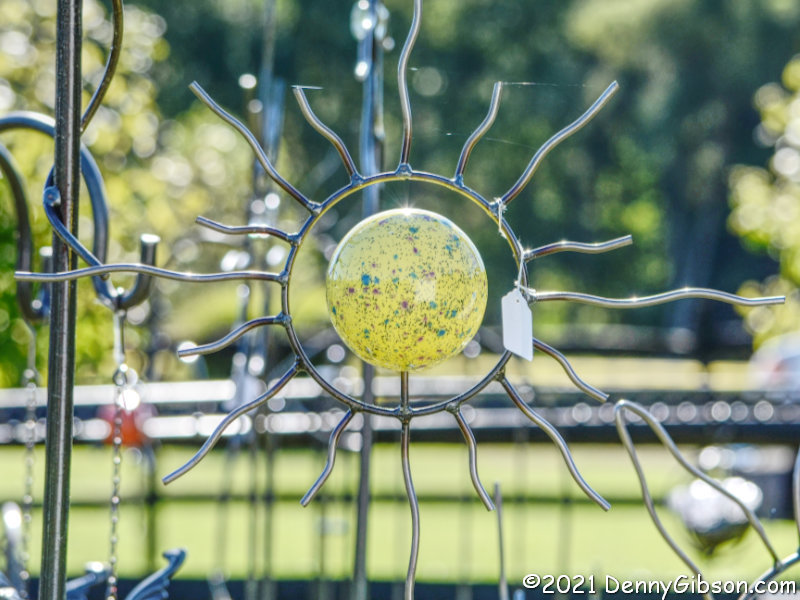
 But, yeah, glass items dominate the festival. It is, after all, hosted by a glass studio. At first glance, things that resemble pumpkins might also seem to dominate the festival, but I’m not so sure. Outside of the Jack Pine Pumpkin Patch, there sure are lots of non-pumpkin pieces.
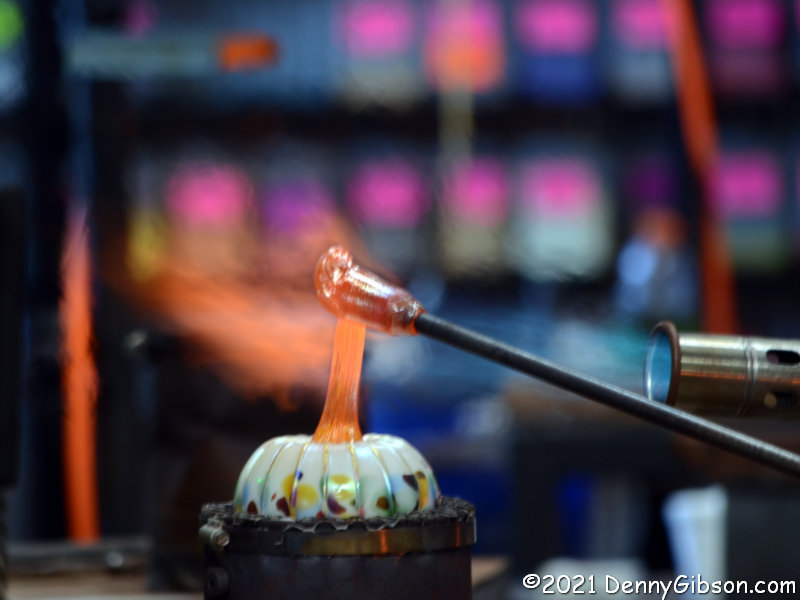
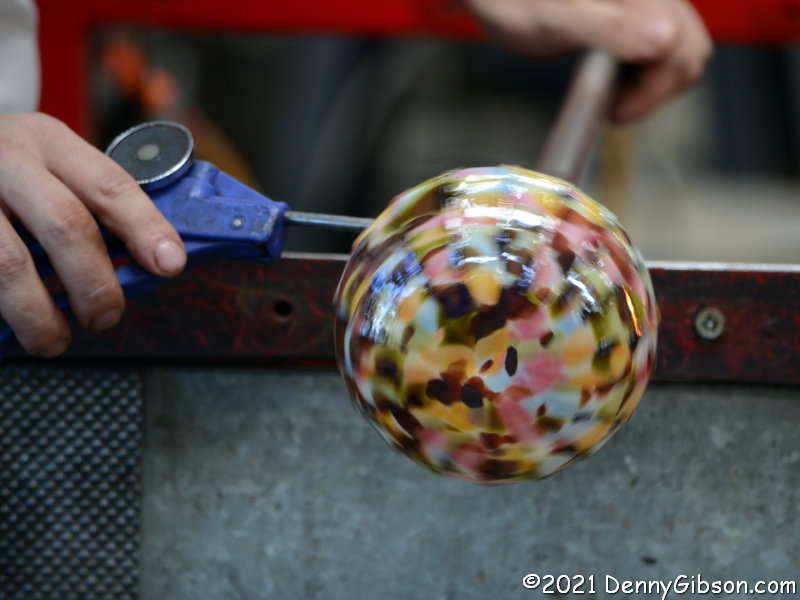
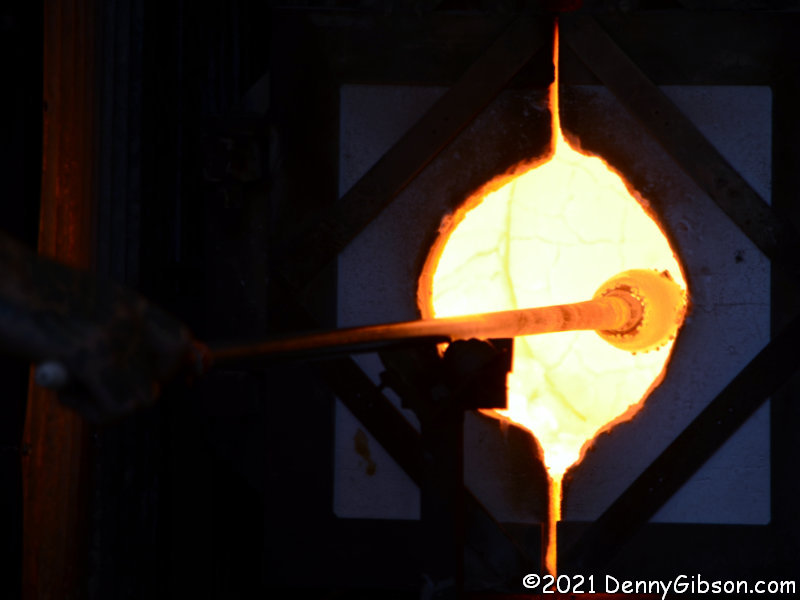
 Several artists were at work inside the studio making glass pumpkins. They would frequently hold out their work as it progressed and explain what they were doing. These non-stop demonstrations alone were easily worth the drive and the price of admission, and the items produced really are phenomenal even if these pictures aren’t.


